Peel N Stick Wallpaper Tips

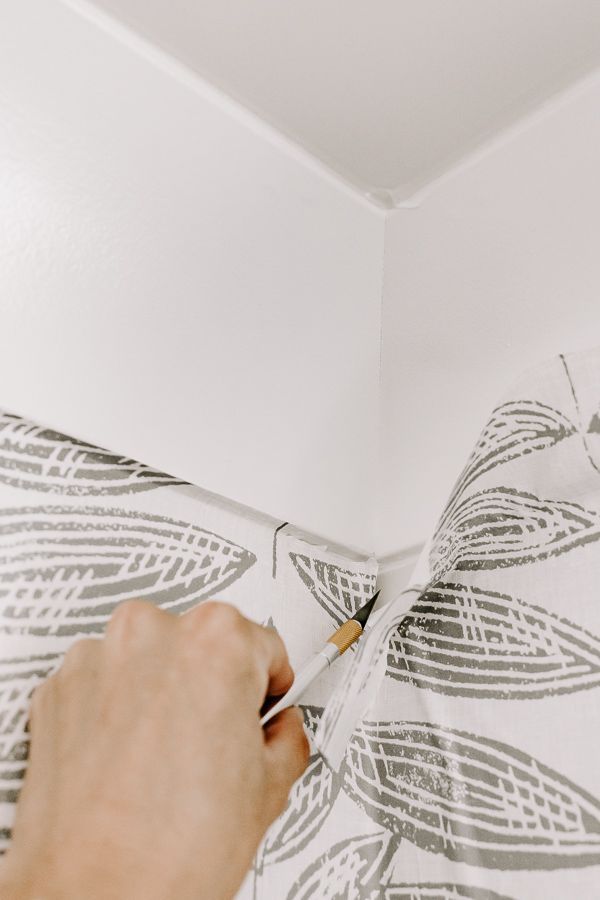
Tips For Hanging Peel And Stick Wallpaper Peel And Stick Wallpaper How To Hang Wallpaper Stick On Wallpaper

5 Tips For Installing Peel Stick Wallpaper Peel Stick Wallpaper Diy Home Decor Projects Diy Wall Decor

Tips To Install Peel And Stick Wallpaper Diy Playbook Peel And Stick Wallpaper Diy Playbook Diy Wallpaper

5 Tips For Installing Peel Stick Wallpaper Peel Stick Wallpaper Easy Diy Projects Cool Diy Projects

Tips To Apply A Removable Peel Stick Wallpaper Backsplash In 2020 Stick On Tiles Wallpaper Stencils Wall

Tips For Hanging Peel And Stick Wallpaper Living Room Decor Gray Home Decor Styles Cheap Home Decor

First and foremost make sure you buy the correct lot numbers.
Peel n stick wallpaper tips.

Tips For Removing Peel And Stick Wallpaper Watch This Video Tutorial To Learn How To Use And Hang Temporary Remov In 2020 Diy Decor Faux Shiplap Diy Breakfast Nook

Tips To Install Peel And Stick Wallpaper Diy Tutorials Step By Step Projects Peel Stick Wallpaper Diy Wallpaper Diy Playbook

Tips To Install Peel And Stick Wallpaper With Images Peel And Stick Wallpaper Diy Wallpaper How To Install Wallpaper

Tips For Using Peel And Stick Wallpaper In 2020 Peel And Stick Wallpaper Temporary Wallpaper Faux Shiplap

5 Tips For Installing Peel Stick Wallpaper Two Paws Farmhouse In 2020 Bedroom Diy Home Decor Kid Room Decor
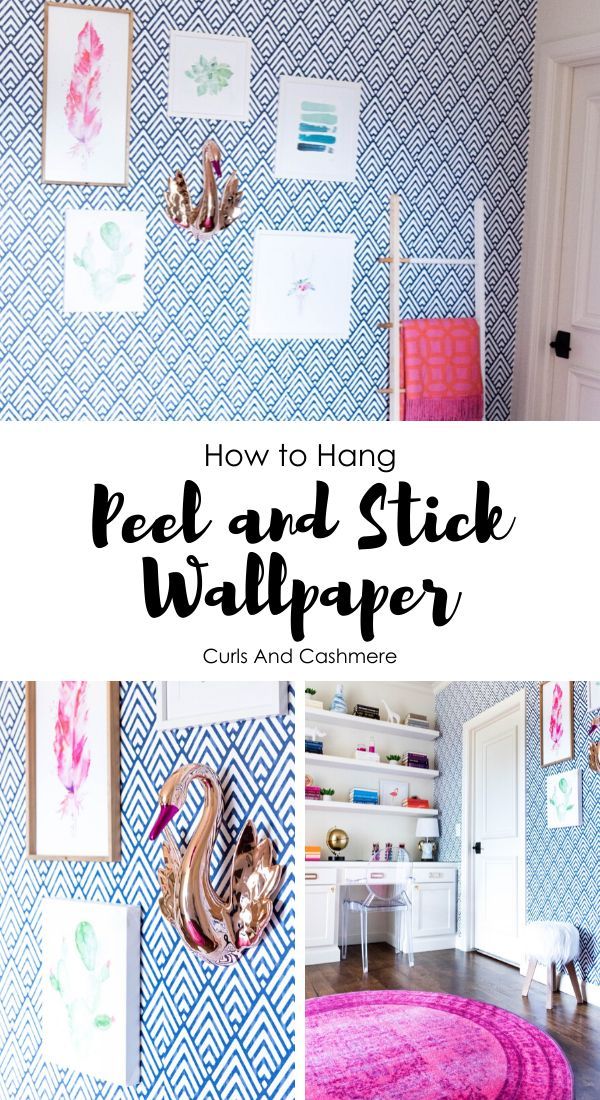
How To Hang Peel And Stick Wallpaper Curls And Cashmere In 2020 Peel And Stick Wallpaper Trending Decor Decor

Tips For Hanging Peel And Stick Wallpaper Peel And Stick Wallpaper Stick On Wallpaper How To Hang Wallpaper
7 Tips For Applying Peel And Stick Wallpaper In 2020 Peel And Stick Wallpaper How To Apply Wallpaper

12 Peel Stick Wallpapers That Don T Look Like Wallpaper At All Emily A Clark Bathroom Decor Bathroom Makeover Peel And Stick Wallpaper

Pin On Cozy Cottage Decor
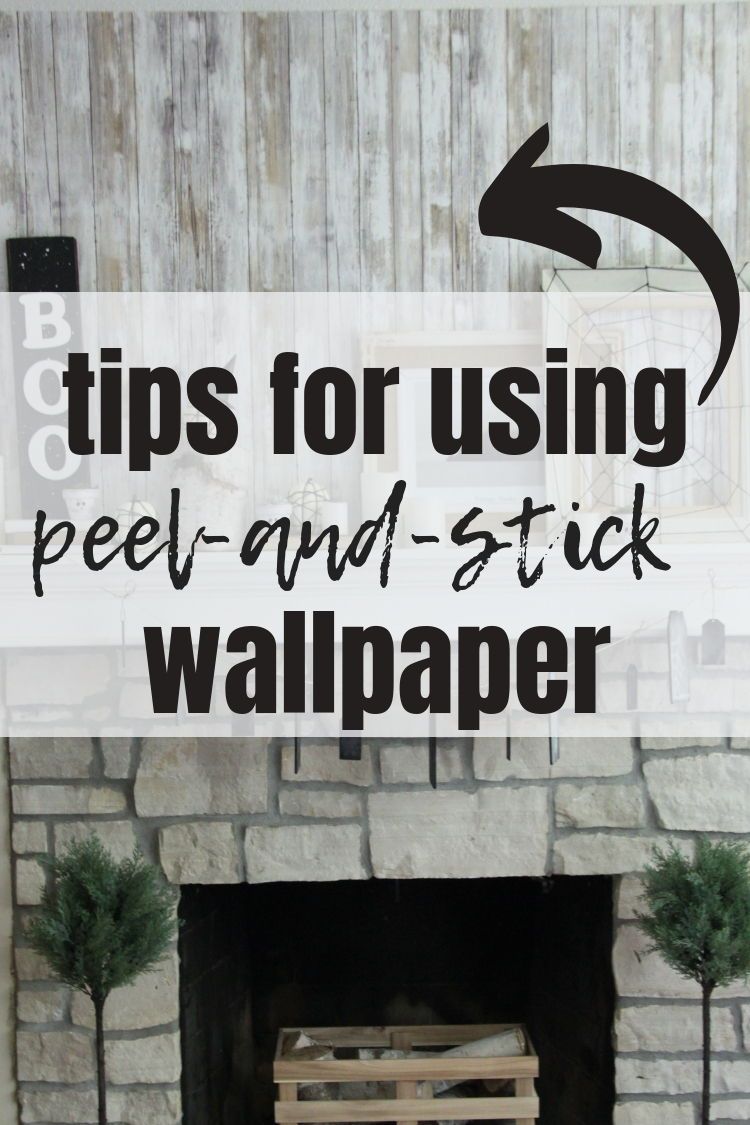
Tips For Using Peel And Stick Wallpaper Watch This Video Tutorial To Learn My Tips And Tricks For Hangi Peel And Stick Wallpaper Temporary Wallpaper Wallpaper

How To Hang Removable Wallpaper Learn My Tips And Tricks For Hanging Prepasted Wallpaper Quickly Removable Wallpaper Temporary Wallpaper Shiplap Wall Paper

5 Tips For Installing Peel Stick Wallpaper In 2020 Home Decor Diy Home Decor Projects Cheap Home Decor

How To Apply Peel And Stick Wallpaper Easy Diy Tips And Tutorial Peel And Stick Wallpaper Diy Wallpaper Walk In Shower Designs

7 Tips For Applying Peel And Stick Wallpaper In 2020 Peel And Stick Wallpaper Wallpaper Accent Wall How To Apply

Peel And Stick Wallpaper Is The 30 Hack Your Home Needs For Spring Laundry Room Makeover Faux Shiplap Laundry Room Inspiration

5 Tips For Peel And Stick Wallpaper Hana S Happy Home Diyer And Dreamer In 2020 Peel And Stick Wallpaper Unique Wallpaper Wallpaper

Peel And Stick Wallpaper At Hobby Lobby Peel And Stick Wallpaper Plaid Wallpaper Brick Patterns

5 Tips For Installing Peel Stick Wallpaper Two Paws Farmhouse In 2020 Farmhouse Decor Trends Home Decor Australia Trending Decor

Tips To Install Peel And Stick Wallpaper Diy Playbook Peel And Stick Wallpaper Diy Wallpaper Diy Playbook

Brewster Blue Links Peel And Stick Wallpaper Peel And Stick Wallpaper Self Adhesive Wallpaper Simple Decor

Rental Friendly Decorating Tip Use Peel And Stick Wallpaper For A Quick Inexpensive And Removable In 2020 Peel And Stick Wallpaper Rental Kitchen Kitchen Backsplash

Tips To Decorate Your Bathroom Elegantly Peel And Stick Wallpaper Quatrefoil Interior Design Tips

Wallpaper 101 Find Your Favorite Pattern Follow The Easy How To Video Peel And Stick And Enjoy Diy Interior Home Design Home Wallpaper Decor
Source : pinterest.com
